THE COMPLETE GUIDE TO MARKETING YOUR ART ON PINTEREST
We’re super excited to be writing about Pinterest today because it can be a very powerful tool for driving traffic to your art website. Since we launched Creative Founders in December 2016 we have genuinely been blown away with the power of Pinterest and the traffic it consistently drives to this website month on month. It is by far our favourite and most effective marketing strategy so we are really excited to share with you our complete guide to marketing art on Pinterest!
YOUR STEP-BY-STEP GUIDE TO MARKETING ART ON PINTEREST
The way Pinterest is set up is to encourage sharing, whether it’s something cool from the Internet or other people’s pins. So when you create pins that link back to your website, those pins have a very good chance of being seen by other people on Pinterest and being re-pinned to their boards, which broadens your reach, raises brand awareness and directs potential customers to your site.
Moreover, Pinterest has a ton of great features for business owners who sign up for a free business account. These include interactive workshops, webinars and resources designed to help you reach your ideal audience, as well as analytics to track your performance, rich pins that add business info into your pins, and the option to promote pins and sell directly through Pinterest if you live in one of the countries where Pinterest advertising is offered. Currently you can advertise your pins in Australia, Canada, the United States, Ireland, New Zealand and the United Kingdom. Sadly for us here in Asia, the ad feature is not available yet.
Myth Busting: First, we want to clarify something—Pinterest is not a social media platform per se. It’s more of a visual search engine where people can search for pretty much anything under the sun using keywords and phrases. So with that in mind, we need to optimise your Pinterest account so that it’s easy for people to find your profile and pins. This is a big one so we’ll outline everything in an easy step-by-step format.
HOW TO OPTIMISE YOUR PINTEREST ACCOUNT
First, create a business account here if you haven’t done so already.
Next, apply for Rich Pins. Rich Pins add your business name, logo and a link to your website below each of your pins. Read our post on Using Pinterest to Boost Your Creative Business to learn more about the Rich Pin set-up.
Fill out your profile name using keywords that are related to your particular niche. For example, for our Pinterest profile, we currently use: Creative Founders | Art + Creative Biz Marketing Tips.
You’ll also want to include a photo of yourself or a logo. If you’re an artist or creative entrepreneur, people want to know about you, so don’t be scared to upload a personal photo!
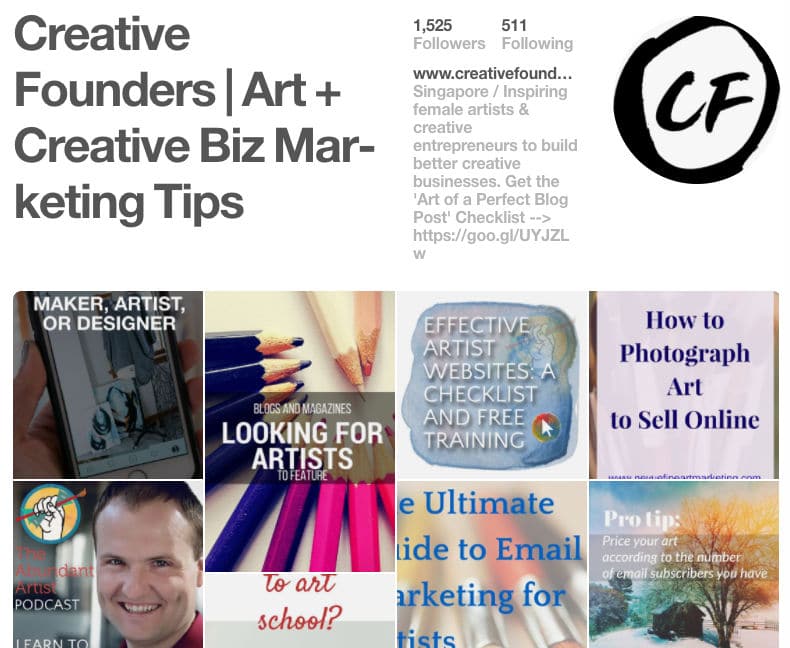
Next, populate your ‘About You’ description. Make it short, sweet and to the point, but be sure to use some of your keywords in there. You might also notice that we have what is called a ‘Lead Magnet’ or a call to action in our description that encourages people to engage with us and download our ‘Art Of A Perfect Blogpost Checklist’. Having a lead magnet in your description is a great way to grow your email database.
BRANDED BOARDS
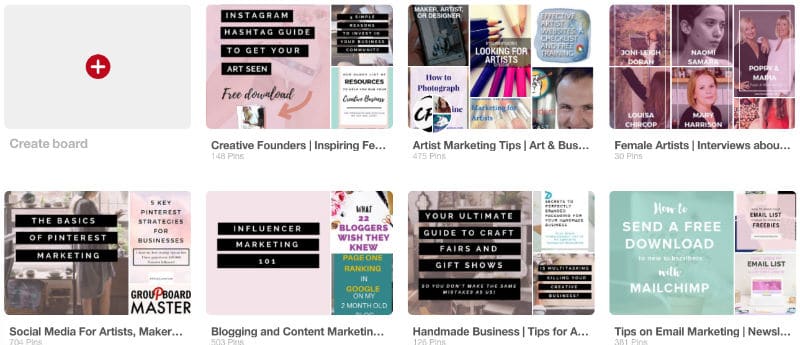
Branded boards are your main boards that relate to your business, not your personal interests. Remember, we’re doing this to grow your art business, not just to collect neat travel, food or DIY ideas. If you are upgrading your personal account to a business account, you can simply hide boards that you don’t want to showcase.
Your first board should be purely related to your business, so only pins leading back to your website will go on this board. For example, our first board is named “Creative Founders | Inspiring Female Artists” and it features all the posts on our blog. As an artist, your first board may be photos of your artwork pinned from your collections page, your online shop or your blog. By doing this you are creating links back to your website which will help drive traffic.
CREATING PINTEREST BANNERS
If you have a blog, you will want to create Pinterest banners for all (or at least the best) posts on your site. We create our Pinterest banners as 735 x 1102 px with templates that we had a freelancer from Upwork design on Canva. You probably have your own product photography you would like to use, but for us here at CF, we source our images from Unsplash (also free) and then upload them into Canva. Once loaded we tweak the banner to fit our brand and change the text to the titles of our new blog posts. Remember that you want your blog post titles to be catchy, especially here, because a catchy title will increase the chances of people being interested in your pin.
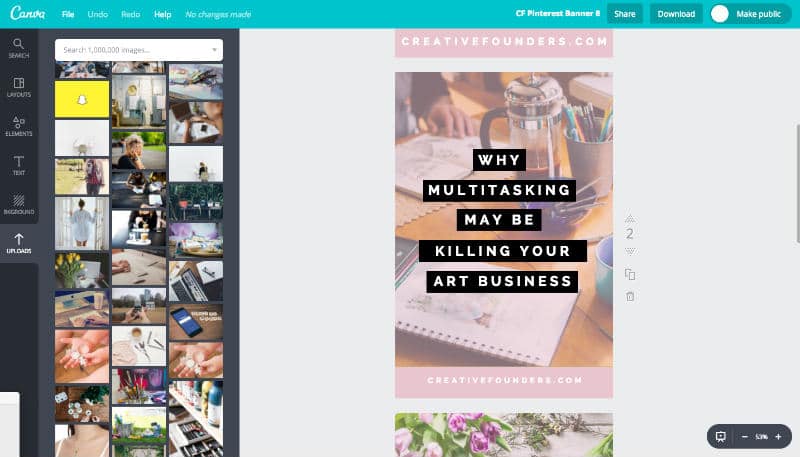
Now load your beautiful new banner to your blog and then pin it to your Pinterest boards. Make sure you populate the pin description with relevant keywords so that people can find you when they search for those terms. Try to be as descriptive as possible and think about what words people might search for if they were looking for your art or post.
HINT: One way to figure out what keywords to use is to search Pinterest. When you put in your search term, Pinterest will deliver you other similar keywords. We actually keep all our Pinterest keywords in a Google Drive sheet so we can access them when pinning our new pins.

Once you have your business-related boards up and running, start creating other boards that are relevant to your business and niche. For example, if you’re a landscape watercolour painter, you may want to create a board called ‘Landscape Art Inspiration’ and add interesting pins related to that topic, including a few paintings of your own!
We suggest that when you’re starting out, you create 10 – 15 boards relevant to your art practice and niche. While the first board on your profile should be your own pins, the following boards can be made up of both your own pins and those of others. We also find it helpful to follow people in your niche, as then you’ll always have relevant content in your feed to re-pin to your boards.
Artist Tara Leaver is doing an absolutely outstanding job on Pinterest and we highly recommend you check her out as she has lots of boards packed with great content and ideas.
FINDING GROUP BOARDS
Next, find some group boards to join. Group boards are very important as your pins are presented to a much wider audience, getting more eyeballs on your work. Your goal should be to join highly engaged group boards.
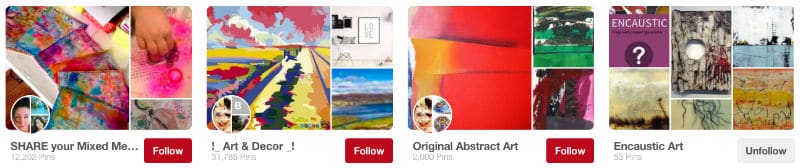
There are two ways to do this: you can search for group boards on PinGroupie or have a look at the profiles of similar people in your niche to see if any of their boards have red “follow” buttons and multiple headshots above the board names. If so, these are group boards. The first profile photo belongs to the owner of the group board. Have a look at their terms, see if they are open to taking new pinners, and drop them a note. In your communication remember to include:
a) You Pinterest URL
b) The email address linked to your Pinterest account
c) An overview of your business and your website URL
Once they invite you to their board, regularly pin on it so you can get your art out there to a much wider audience. Remember to be respectful of the rules though! It is a privilege to be allowed to post on someone else’s board so please don’t spam it.
THE PINTEREST TOOLS YOU NEED TO KNOW
Now, this is where things get exciting… BoardBooster is an amazing tool you can use to automate your pinning and exponentially increase your reach. In a nutshell, BoardBooster allows you to schedule pins and then they’ll do all the pinning for you. They also have a neat Looping tool that will revive older pins and bring them back to the top of your boards, which increases their longevity and chances of being seen by more people. Even better, BoardBooster starts from as low as $5 USD per month.
*** UPDATED March 2018***
While we still use BoardBooster and think it is a great tool, we recently started using Tailwind and Tailwind Tribes and the results have been beyond what we could have ever expected. We have seen a substantial increase in traffic to our site as a result of Tailwind Tribes. We have written a post about our experiences with Tailwind and Tailwind Tribes and How to use Tailwind for your Art business.
SETTING UP BOARDBOOSTER SCHEDULER
The scheduler allows you to schedule pins, meaning that you can spend 30 minutes a week pinning to a private board and Boardbooster will schedule them out for you during the times and days you specify.
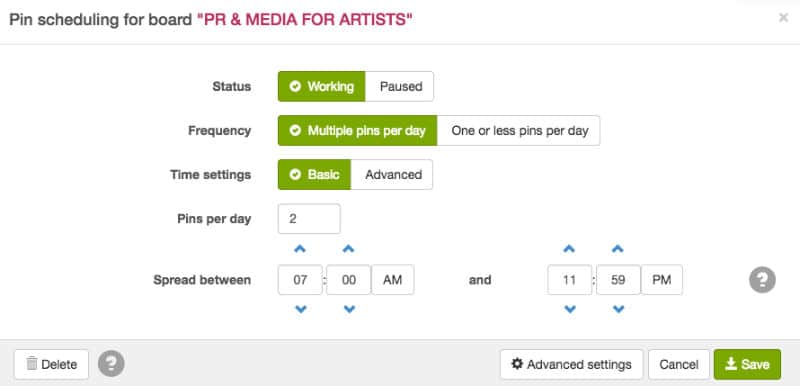
Once you have created your account, click on PINNING TOOLS > SCHEDULER in the top right-hand corner of your dashboard. Next, a pop-up will appear with a list of all the boards on your Pinterest page. Choose the board that you want to create the scheduled pins for.

A pop-up will appear with the basic settings for your board. You can choose the pins you would like to schedule per day as well as the times.
Now, click on Advanced Settings in the bottom right corner.
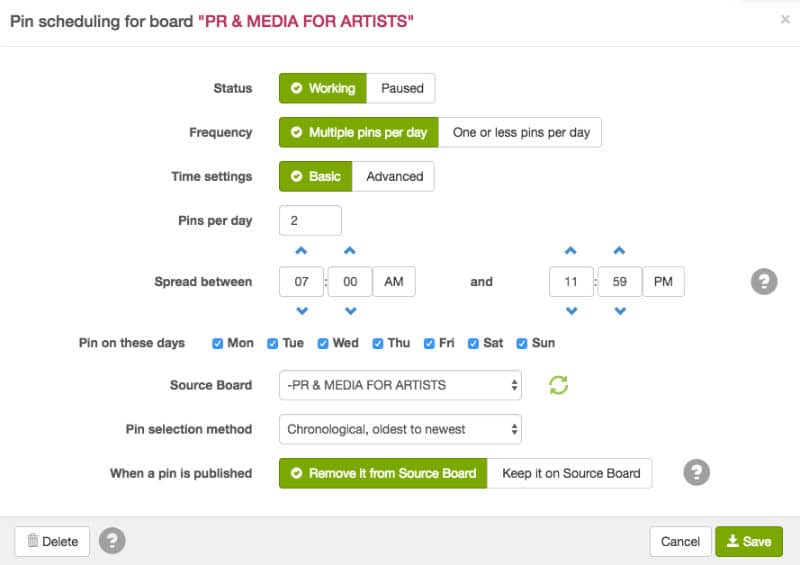
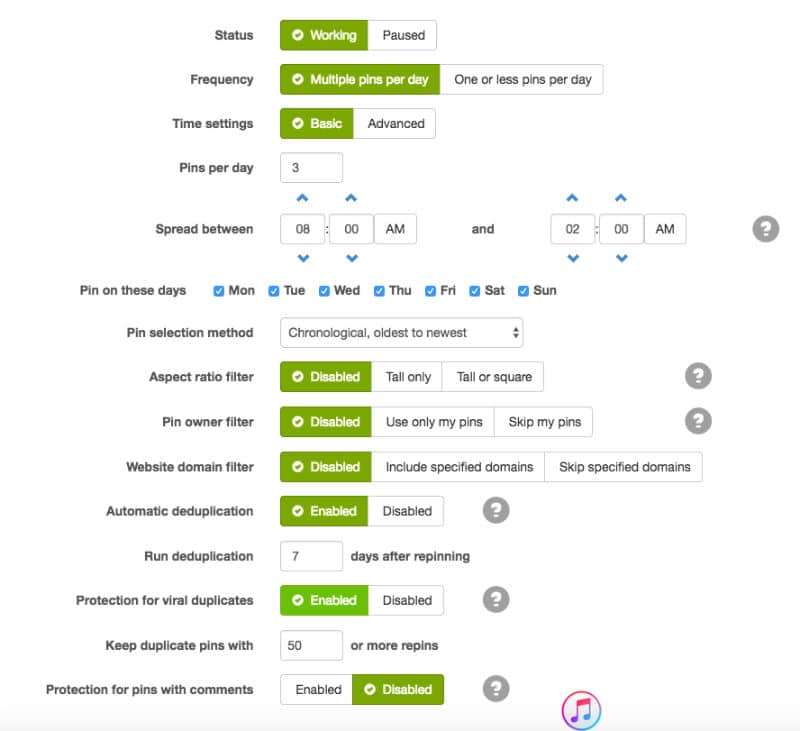
For the purpose of this example we have set the board to schedule 2 pins from 7 am – 11:59 am, but the longer your account runs, you will soon learn the optimal times to pin and you can adjust accordingly. You can also choose the days of the week you would like to pin. We also choose the Pin selection method as Chronological and we like to remove the pins from our source board once they are published.
SETTING UP BOARDBOOSTER LOOPING
Click on PINNING TOOLS > LOOPING in the top right-hand corner of your BoardBooster account. Next, choose the board which you would like the pins to loop.
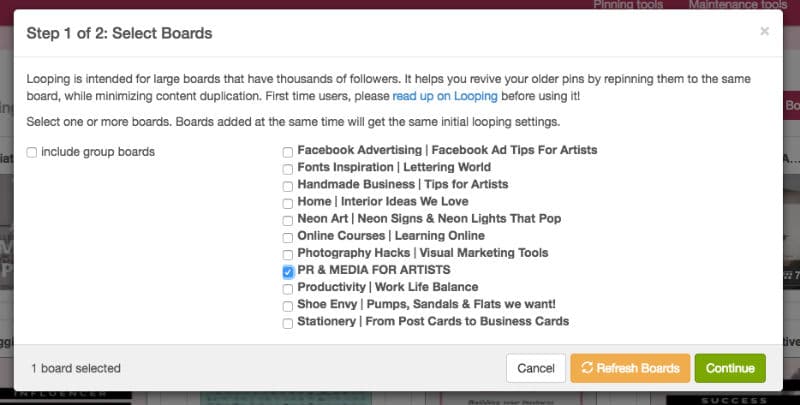
Now it is time to manage the Looping settings, we usually use the settings below, but please check out BoardBoosters ‘Help’ section to learn more about this powerful tool. These are just the basics!
PINTEREST CHALLENGE:
Your challenge is to follow the steps we laid out above to optimise your Pinterest account and get BoardBooster set-up. We realise it’s a bit of work, but it will be worth it!
a) Create 10 – 15 Boards relevant to your art business.
b) Request to join 3 – 5 Group Boards relevant to your art niche.
c) Set-up BoardBooster their free pins trial and choose your top boards you want to start scheduling and looping pins.
c) Spend time finding all the pins you want to schedule to your boards for the next few days.
Try to choose high-quality engaging pins that feature content your potential clients will be interested in. And be sure to use the Looping tool to boost the shelf life of your own pins.
Thanks for sticking with us, we appreciate there was a lot to take in. We hope you have found this post helpful!


